Using cPanel
This section describes how to use cPanel and File Manager to upload your assignments and projects to the Just Host web hosting site.
Logging into Panel
- Navigate to https://gallardo.websitewelcome.com:2083.
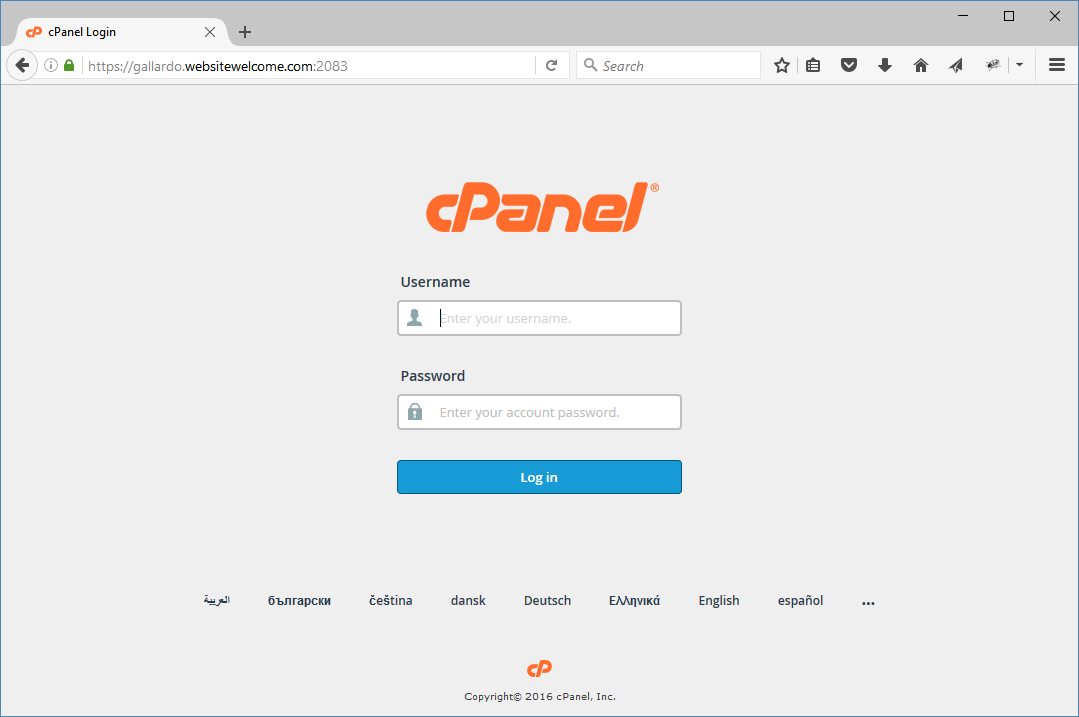
- Enter your user name and password.
- Click Log in.
Selecting File Manager
- At the cPanel window, expand the File section if it's not already expanded.
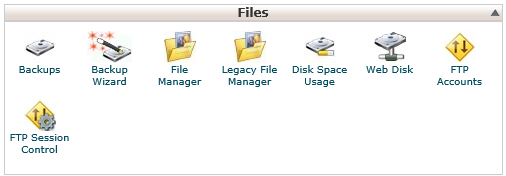
- Click File Manager.
- At the Directory Selection window, select Web Root and click Go.
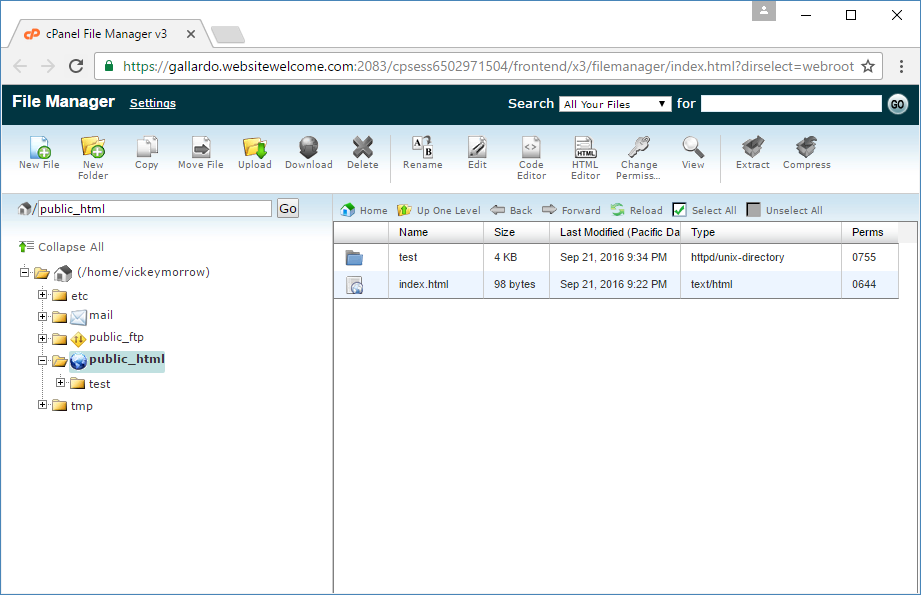
- At the File Manager window, select the public_html folder in the left pane.
For this class, you will be uploading and creating all files in that folder.
Creating the index.html file
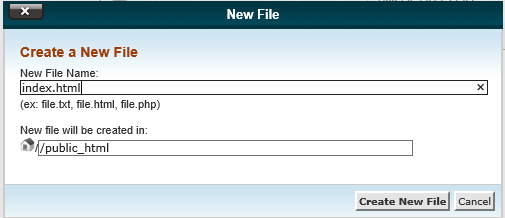
- Click the New File icon in the upper-left corner of the File Manager window.
- In the New File window, enter index.html as the file name and click Create New File.
- In the left pane, select the index.html file-and click the Code Editor button in the tool bar at the top of the window.
- In the Code Editor window, create a basic html file for your index page.
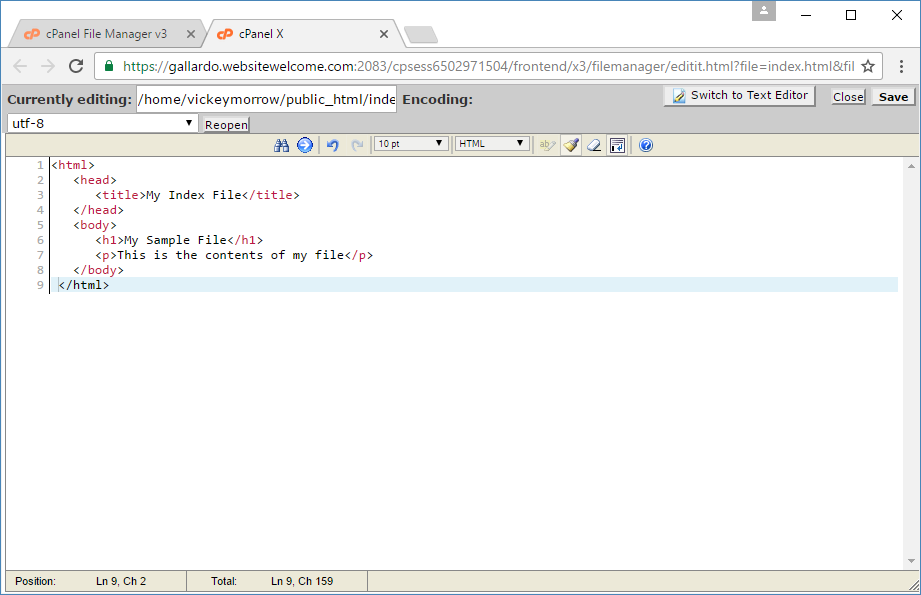
- Click Save Changes to save your file.
Note: You can now view your file on the web. Navigate to http://192.185.157.19/~userName/ where userName is your user name for HostGator. If you make changes to your index.html file and save them, you can immediately see those changes after refreshing the browser. Because of the way that we are using the hosting service, you'll need to use the actual numerical IP address instead of a domain name to access your account. For example, my website on this hosting service is http://192.185.157.19/~vickeymorrow.
Uploading files individually
You can upload your homework files to the web page one at a time. (Alternatively, you can zip the files and upload them all at once as described in Uploading a zip file.)
- Select the public_html folder in the left panel and select New Folder from the toolbar.
- In the Create a New Folder Window, enter the name of the folder (following the naming guidelines in the assignment) and click Create New Folder.
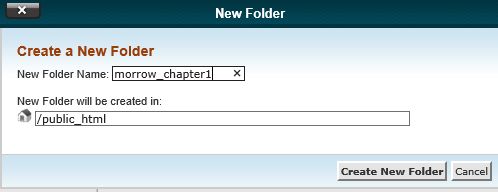
- In the left panel, select the name of the folder you just created and select Upload.
- In the Upload Files window, click Browse and navigate to the file you want to upload and click Open.
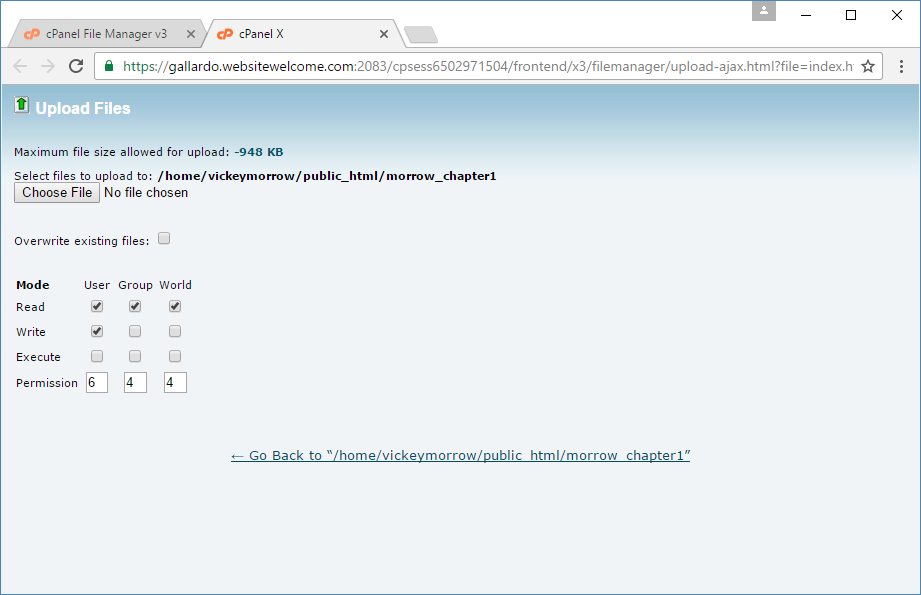
- Repeat step 4 for each file that you want to include.
- When you finish, click the link at the bottom of the page to return you to File Manager.
Uploading a zip file
You can upload multiple files at once if you zip them prior to upload.
- Zip the files for your assignment or project into a zip archive file.
- In File Manager, select the public_html folder in the left pane.
- Select the Upload button in the toolbar.
- In the Upload files window, click Browse, navigate to your zip file, and select Open.
- Click the link at the bottom of the page to return to File Manager.
- In the right panel, select the name of the zip file and click Extract in the toolbar.
The files are extracted into a folder that matches the name of the zip file. You can use the Rename option in the toolbar to rename the folder if necessary.
Downloading your files
You can also download your files from File Manager if necessary.
- In the right pane, select the folder you want to download.
- Click Compress in the toolbar.
- At the Compress window, select Zip Archive and enter the file name you want to use for the zipped file.
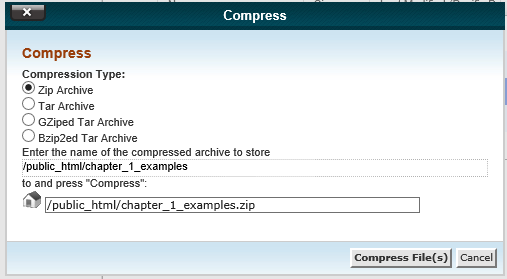
- Click Compress File(s).
- Select the zipped file in the right panel and click Download in the toolbar.
- Save the file as prompted by your browser.