Overview
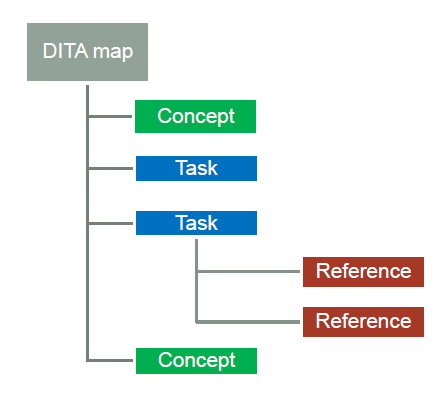
A DITA map file contains list of pointers to topics to include within the deliverable. It provides the content, structure, and organization of a deliverable
Use DITA maps to:
- Include topics within an information set
- Define the navigation between a set of topics
- Creates relationships between topics
Topics can be nested within each other to define a basic hierarchy for the deliverables.
Note: DITA maps have the extension .ditamap.
Structure of a DITA Map
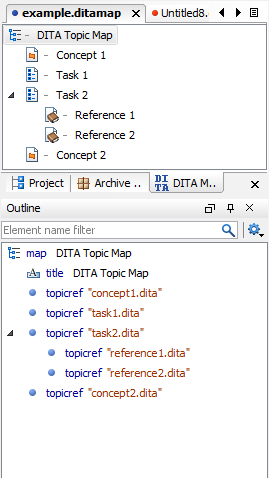
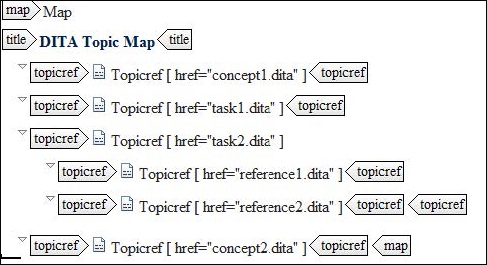
The DITA map has a <topicref> element for each topic that you want to include within the deliverable. You can nest <topicref> elements within <topicref> elements to create the hierarchy that you want.
The basic structure of a map includes a title and a series of nested topics:
<?xml version="1.0" encoding="UTF-8"?>
<!DOCTYPE map PUBLIC "-//OASIS//DTD DITA Map//EN“ "map.dtd">
<map>
   <title>DITA Topic Map</title>
   <topicref href="concept1.dita"/>
   <topicref href="task1.dita"/>
   <topicref href="task2.dita">
         <topicref href="reference1.dita"/>
         <topicref href="reference2.dita"/>
   </topicref>
   <topicref href="concept2.dita"/>
</map>
Common attributes on a topicref element
The <topicref> element has several attributes values that you specify. These include:
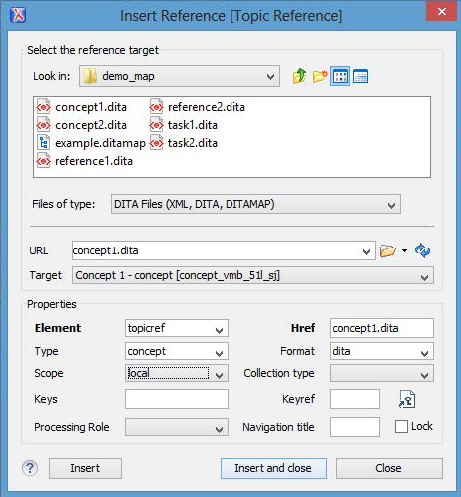
- href – the name of the topic, map, or external location to include within the map
- type – the type of object to which you are linking (examples include concept, task, reference, table, or section)
- format – the format of the object to which you are pointing (usually dita or ditamap)
- scope – the relationship between the source and topic object (usually local for most topic references)
- navtitle – the title you want to use in links and navigation (will default to the topic title)
- locktitle – specify yes to override the default topic title with the navtitle
The following example illustrates the attributes for a <topicref> element.
 <topicref  href="concept1.dita" type="concept" format="dita" scope="local"
            navtitle="My Concept 1" locktitle="yes"/>
Organizing the information within your map
You need to organize your topics within your information deliverable.
- Map out where topics go
- What topics should be linked together
Methods:
- Tools can help you map out relations
- Index cards – Place each topic name on an index card and then organize your index cards into stacks
- Spreadsheet – List all of your tasks in one column and associated concepts and references in another
- Maps -- Create a map with placeholder topicrefs. After you finalize the structure, create the topics to fill out the map.
Benefits
- Structure information
- Analyze the flow of information
- Plan the project
- Gather consensus on how information should be structured
- Visualize the information
Hierarchy of output
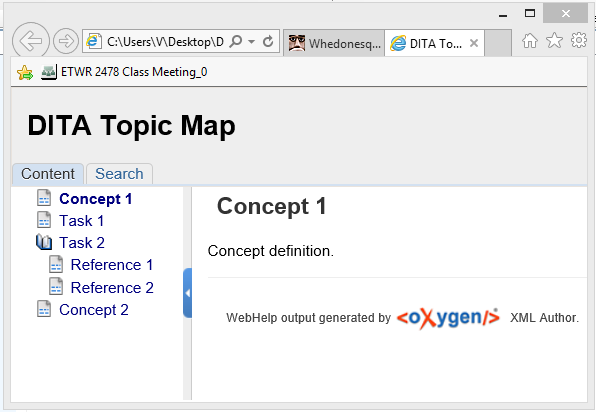
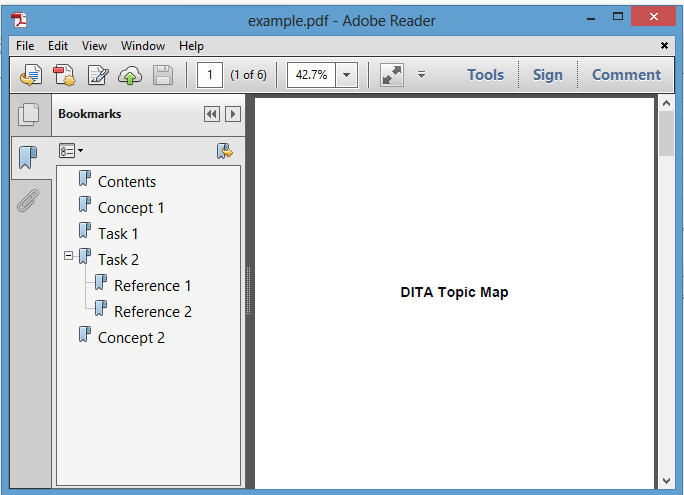
The hierarchy of the output matches the hierarchy of your topic references.
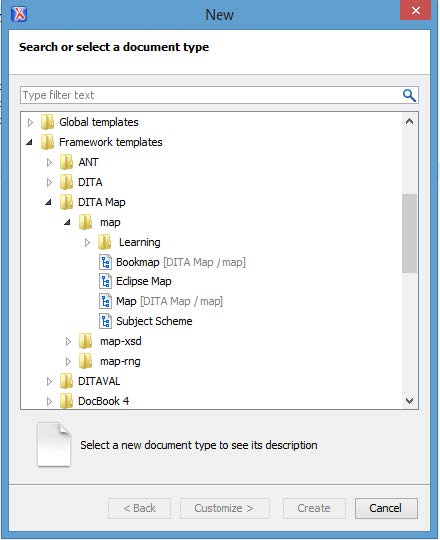
Bookmaps
A bookmap is a special type of DITA map that is design to emulate the traditional book structure. Instead of topic references, you insert chapters or appendixes within the bookmap. Within the chapters, you insert topic references to individual topics.
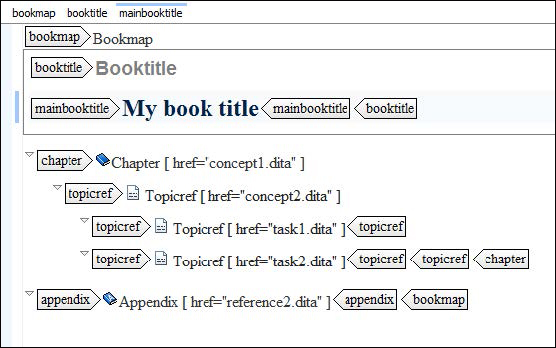
Bookmaps have additional metadata, but you can also use regular maps to produce PDF output.
Submaps
A topic reference can point to a submap instead of a topic. The transform process will pull that map in with the hierarchy defined within the map into the output.
Submaps allow you to:
- Organize by chapters
- Manage large information sets
- Reuse sets of topics
- Allow multiple writers to work on same information set
For example, if you had a common chapter that was used in multiple books, you could define a submap once instead of recreating the topicref hierarchy in each map.
